Last spring we were eager to use our patio, but we needed to do a few things first. Initially, I went out shopping to look for a table and chairs. I looked at ikea, Pottery Barn, Crate&Barrel, searched on craigslist, but just didn’t find what I wanted, at the price I wanted. I wanted a farm table with a bench for a couple hundred bucks…wasn’t gonna happen! So I started looking at DIY tables. Then I started getting excited…and had to figure out a way to convince the hubby that this was going to be fun! Really all I had to do was show him prices of inspiration photo$ and then the price to DIY…hook, line, and sinker!!! I sure know the way to his heart!!!
Inspiration photo: Well, this beauty is just a tad bit out of our price range. Like $2,000 out of our price range!
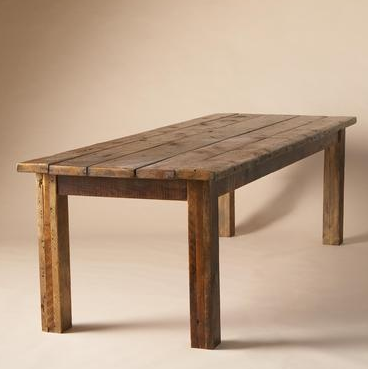
Source
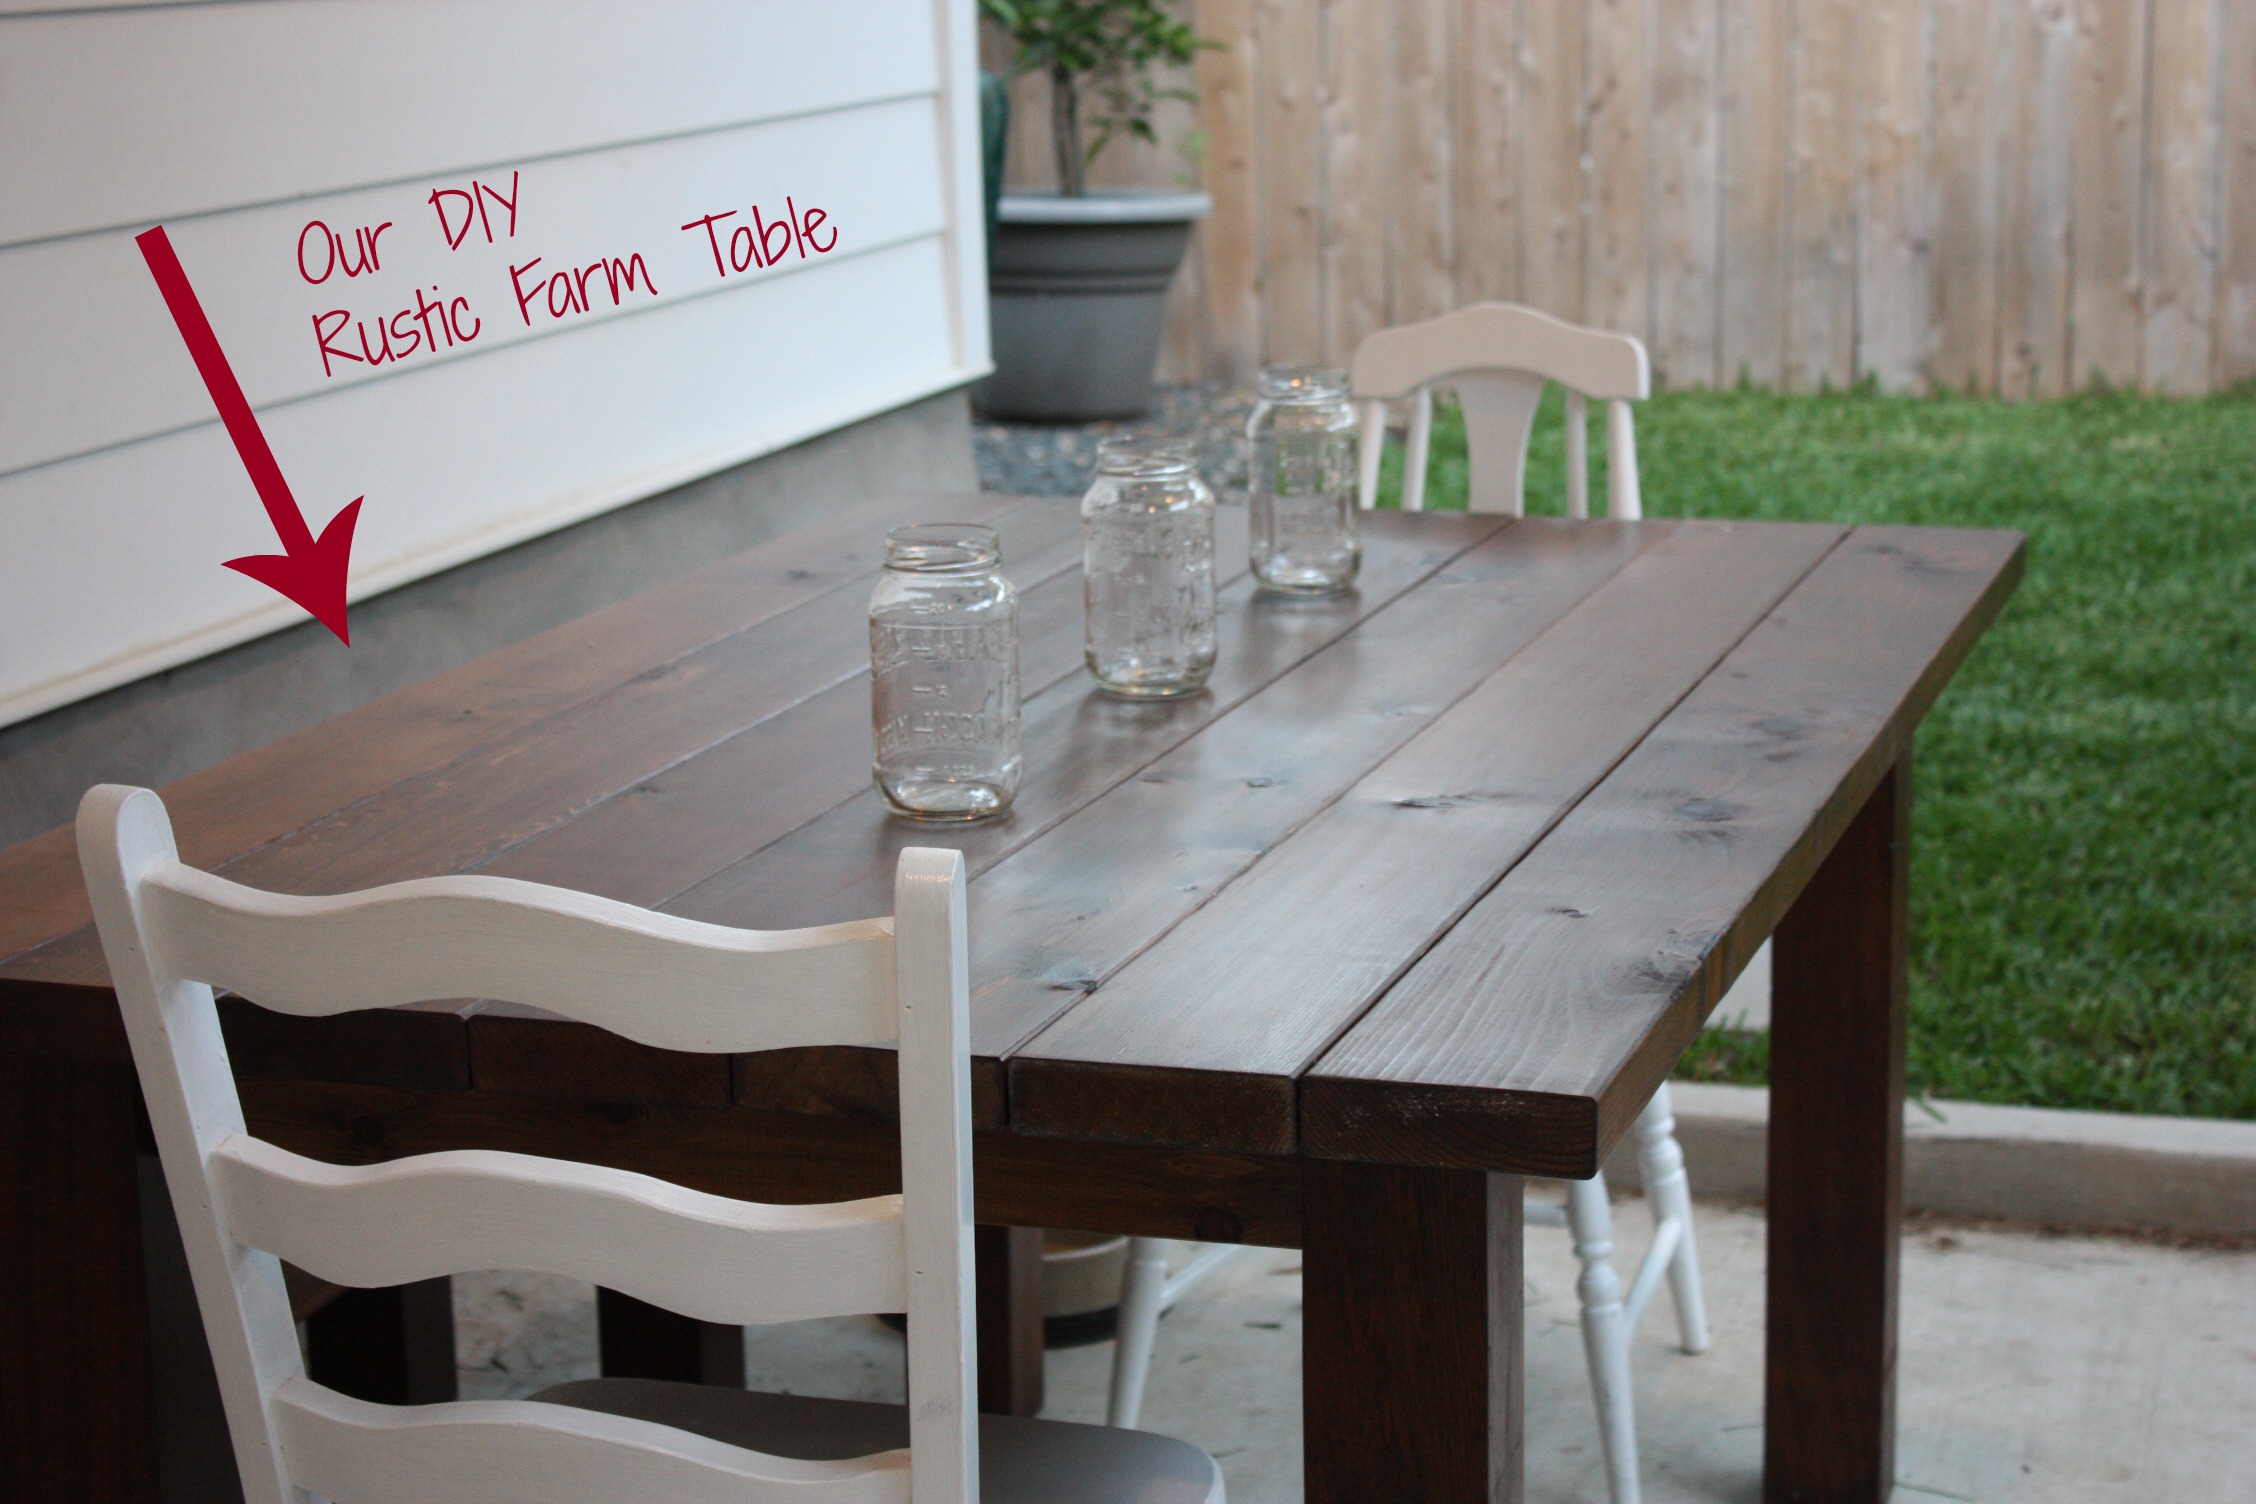
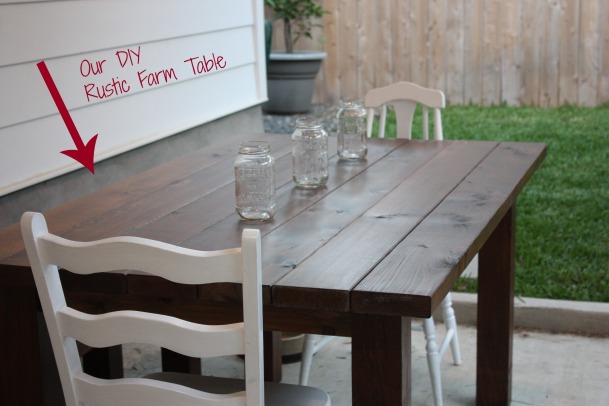
Here is our version for a LOT less!!
I actually used a Lowe’s tutorial video to walk us through the building process. (FYI…we did not build our bench like the one in the video). But first we had to gather the materials. What you need will depend on the size of your table and bench. I am no carpenter so I won’t do a tutorial, but will give you the gist of how we built our very own Rustic Farm Table!
First we gathered the wood…we decided on smooth cedar and used 4×4’s for legs and 2×6’s for top and 2×4’s for table skirt.
I bought a mini Kreg Jig Kit online…and kinda LOVE it. Hiding the screws just gives it a finished look. Gary cut the pieces and I stained and sealed each piece before we assembled it. It will remain outside so I wanted it to be as sealed as possible.
Then we basically followed the tutorial adjusting as needed for our plans.
Here are a few more photos. Since these pics, we have gotten 4 Tolix-like chairs from Overstock, and built a buffet to match. We have enjoyed many picnic lunches, and dinners out there already! I am so glad we built our table! We are certainly proud of it.
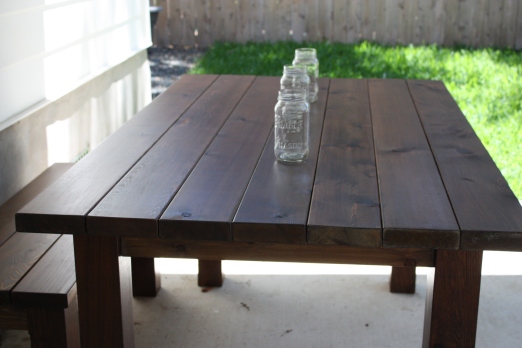
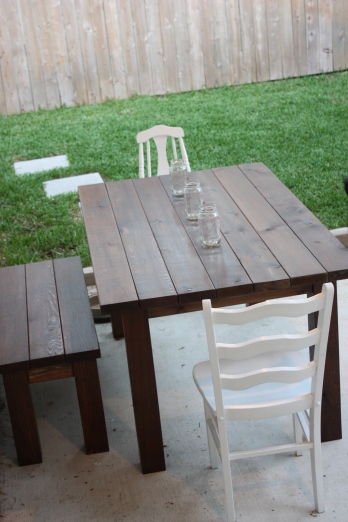
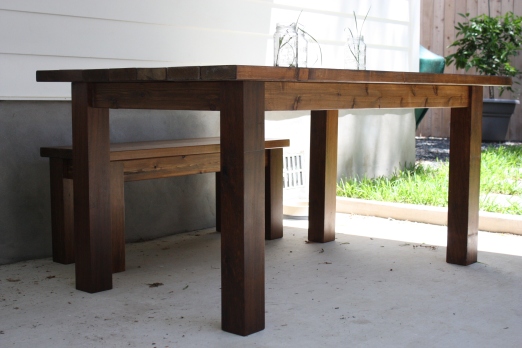
Since these pics, we have gotten 4 Tolix-like chairs from Overstock, and built a buffet to match. We have enjoyed many picnic lunches and dinners out there already! I am so glad we were brave enough to build our table! We are certainly proud of it. Have you DIY’d anything lately?